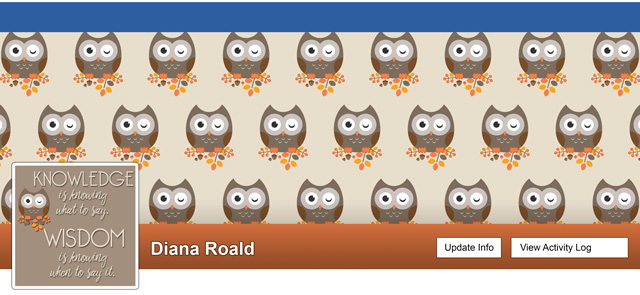
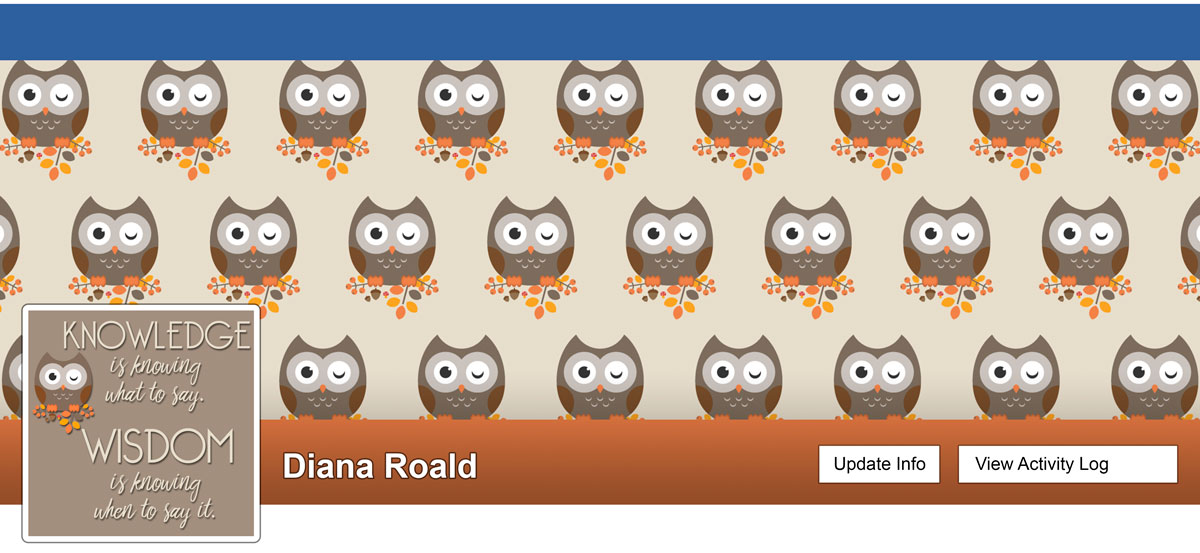
Autumnal Owl and Pattern
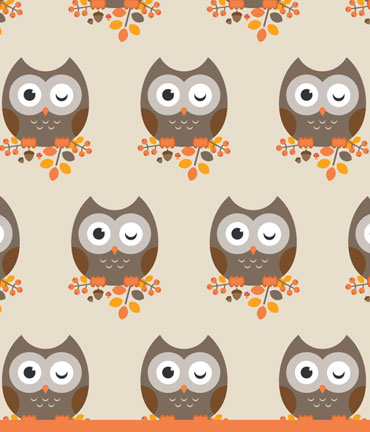
Based Zombie Dream tutorial: Autumnal Owl and Pattern
Click on image for full-sized image.
Autumnal Owl and Pattern
This tutorial was made in another version of Illustrator, but it could still be made in CC 2015. I, however, used the new automatic pattern functions. I thought the pattern shown was too busy, so I made a simple pattern. I am not totally satisfied with it, but got tired of working with it. You are shown how to make the owl and other autumnal elements in Illustrator: berry twig, leaves, acorn and mushroom (which I chose not to use in my final design).
I used the owl and other design elements to make a new Facebook cover and profile.
NOTE: I often had trouble reaching the Zombie Dream web site (technical memory problems), so I finally made a pdf of the tutorial. Remember, this tutorial is the property of Zombie Dream.
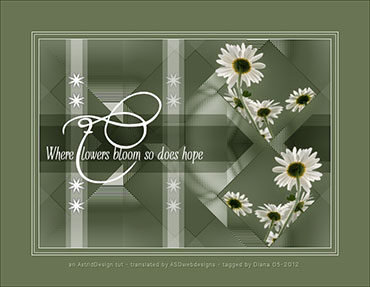
Ink & Paint: Calligraphic Illustrator Brushes
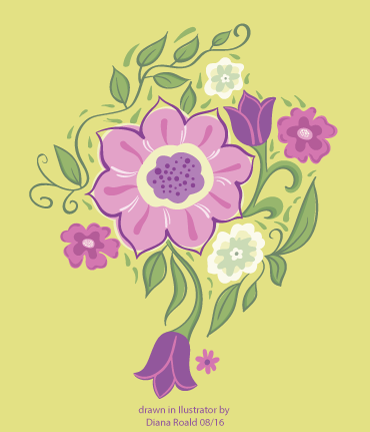
Based Laura Coyle’s online class: Ink & Paint: Calligraphic Illustrator Brushes

Click on image to view a Facebook cover where the flower was made into a pattern.
Calligraphic brushes, the Paintbrush Tool and the Blob Brush Tool
As mentioned in a previous post, Laura Coyle’s tutorials are very good. She is truly a great teacher. Both her classes and tutorials are free at Illustratoring.com. The following is the introduction from the class:
Learn about Calligraphic Illustrator brushes, the Paintbrush Tool, and the Blob Brush Tool. You’ll learn the settings for getting the most out of these tools with a pressure sensitive Wacom tablet. Create a set of Illustrator brushes to use for linework and coloring, then follow along as Laura guides you through a complete, fun, floral art project, complete with tracing art and a custom color palette. Get into freehand drawing in Illustrator with this complete project!
Subscribe for password access (The password unlocks all of our classes), then you can watch the video lessons and download the files on our Ink & Paint private class page. Pay What You Wish if you use the classes.
Create a Flip Flop Icon
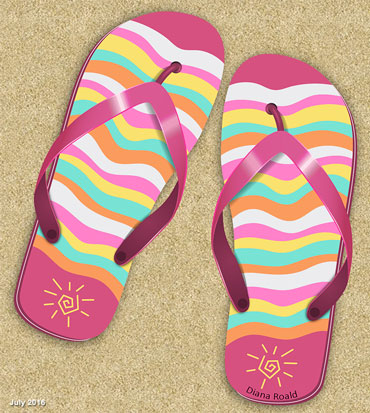
Based on Envatotuts+ tutorial (previously Design tutsplus - paid subscription) How to Create a Flip Flop Icon in Adobe Illustrator

Click on image for full-sized image.
Create a Flip Flop Icon
This tutorial took some time to complete but the final result made it worth the time. I didn’t, however, follow the tutorial for the beach background. I used an action by PSD Dude that you can find HERE in the Envato market.
Create a Honeybee on a Honeycomb

Based on Envato Tutsplus tutorial (paid subscription): Create a Honeybee on a Honeycomb

Click on image for full-sized image.
Create a Honeybee on a Honeycomb
This was a fun and fairly quick tutorial. I’m not entirely pleased with the colors from the original tutorial, but after playing around with them I decided not to change them.
Right now at work I am truly as busy as a bee, as we are in the midst of arranging exams. I am truly thankful for all of the room invigilators that we have. Without them, I would not survive this time of the year.
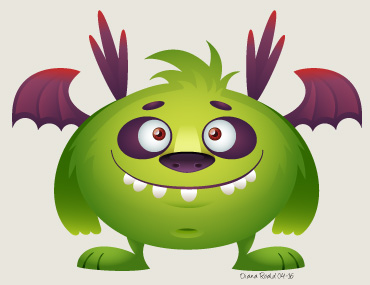
Cartoon Creature Design: 2nd Monster

Based on Envato Tuts+ Course (paid subscription): Cartoon Creature Design

Cartoon Creature Design: 2nd Monster
As mentioned in Cartoon Creature Design: 1st Monster, the course “Cartoon Creature Design” consists of 11 videos that teach you how to create a set of fancy cartoon characters with various facial expressions and body shapes. This is my second friendly monster after completing lesson 2.3 and 2.4.
Only one more left, and then I plan on getting my creative juices going and make my own designs. :)
Vector Portraits for Beginners, Part 1 - Line Art Style Portrait

Based on Envato Tuts+ Course (paid subscription): Vector Portraits for Beginners

Vector Portraits for Beginners: Part 1, Line Art Style Portrait
Link to tutorial (paid subscription)
This is part 1 of the course, where the goal is to make a line art style portrait. That is, all of the details are drawn either with the pen tool og brush tool. The only coloring is the background and eyes for contrast. In part 2, which I will soon start, the goal is to color this line drawing and add simple shading.
The Journey of Life
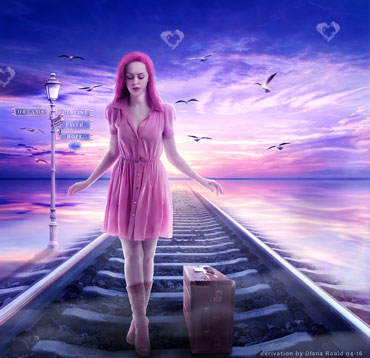
Based on PSB Box (paid subscription): I Walk Alone

Click on image for full-sized image.
The Journey of Life
The tutorials at PSD Box are almost always have nice end results. I can't say that I learn a lot of new things, but they do inspire me. Usually, I find a final image that says something to me, like this one, where I changed the title from "I Walk Alone" to "The Journey of Life." I like to believe that no one needs to walk alone. We just need to be able to ask for help, support or advice from family and friends.
Create Flat Weather Icons in Photoshop
Based on Envato Tuts+ tutorial (paid subscription): Create Flat Weather Icons in Photoshop
![]()
Click on image for full-sized image.
Create Flat Weather Icons in Photoshop
I have to try out as many Envato tuts as possible since I am paying for a subscription. :) This was a cute idea, but I didn't learn very much. The design of the icons caught my eye and I decided to use them in my recent facebook cover/profile.

Cartoon Creature Design: 1st Monster
Based on Envato Tuts+ Course (paid subscription): Cartoon Creature Design

Click on image for full-sized image.
Cartoon Creature Design: 1st Monster
As mentioned in an earlier post, I have a subscription at Envato Tuts+ (tutsplus.com) where there are a lot of really good tutorials and courses. The course “Cartoon Creature Design” consists of 11 videos that teach you how to create a set of fancy cartoon characters with various facial expressions and body shapes. This is my first first friendly monster after completing lesson 2.1 and 2.2.
The course continues by showing you how to create two new monsters, and then how to create new monsters from the faces and bodies created in the first lessons. Finally, the course gives some tips on recoloring the monsters. I will post my new monster in my blog. :)
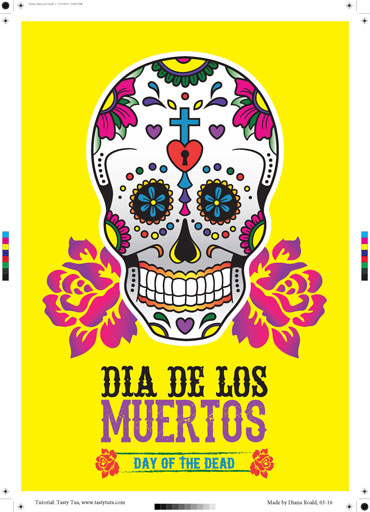
Retro Illustration

Based on Envato Tuts+ Course (paid subscription): Creating a Retro Illustration in Adobe Illustrator
Click on image for full-sized image.
Retro Illustration
I have a subscription at Envato Tuts+ (tutsplus.com), where there are a lot of really good tutorials and courses. The image above was the final product from the course “Creating a Retro Illustration in Illustrator”. The course consists of 7 videos showing you all the details for creating the image while teaching you important skills that can be used for creating other artwork.
This course has enough details so that you can easily follow along. As usual, I had to rewind a lot, but that’s how it is with video tutorials. Most of this course was a review of what I already knew, but I did learn about using the “roughen” effect (under “Distort & transform”) both when creating a brush and by applying it to existing strokes. The use of the roughen effect helps create a more organic look to your artwork.
Ancient, Iron, Viking Design

Based on Blue Lightning Video Tutorial: How to Create an Ancient, Iron, Viking Design

Click on image for full-sized image.
Ancient, Iron, Viking Design
I really like Blue Lightning’s tutorials. The pace is just right for me and all the instructions - both verbal and visual - are very clear.
Even before I moved to Norway I was somewhat fascinated by Vikings. I found the quote at The Viking Rune, "My Top 10 Favorite Quotes from Icelandic Sagas". The site has a fun page where you can type in your name and get it converted into Runic symbols. You can read more about this in my blog article, Vikings.
Create a Vector Illustration
Based on tutorial "Create a Vector Illustration"

Click on image for full-sized image.
Create a Vector Illustration
The complete course consists of 19 episodes (videos). It starts with an introduction consisting of the basics, like the interface and vector basics and moves on to practicing things like creating vector shapes, grouping vectors and compound vector shapes and drawing with the pen, brush and pencil tools. In the final section you start the project which is an illustration that can be used for a printed poster or T-shirt design. The course concludes with all the necessary steps to prepare your documents for print.
This is a very good course. It is easy to follow as there are a lot of detailed instructions. I finally finished the entire course, with the final products being a poster (left) and t-shirt design (right). The white areas in the t-shirt design will be the same color as the t-shirt.


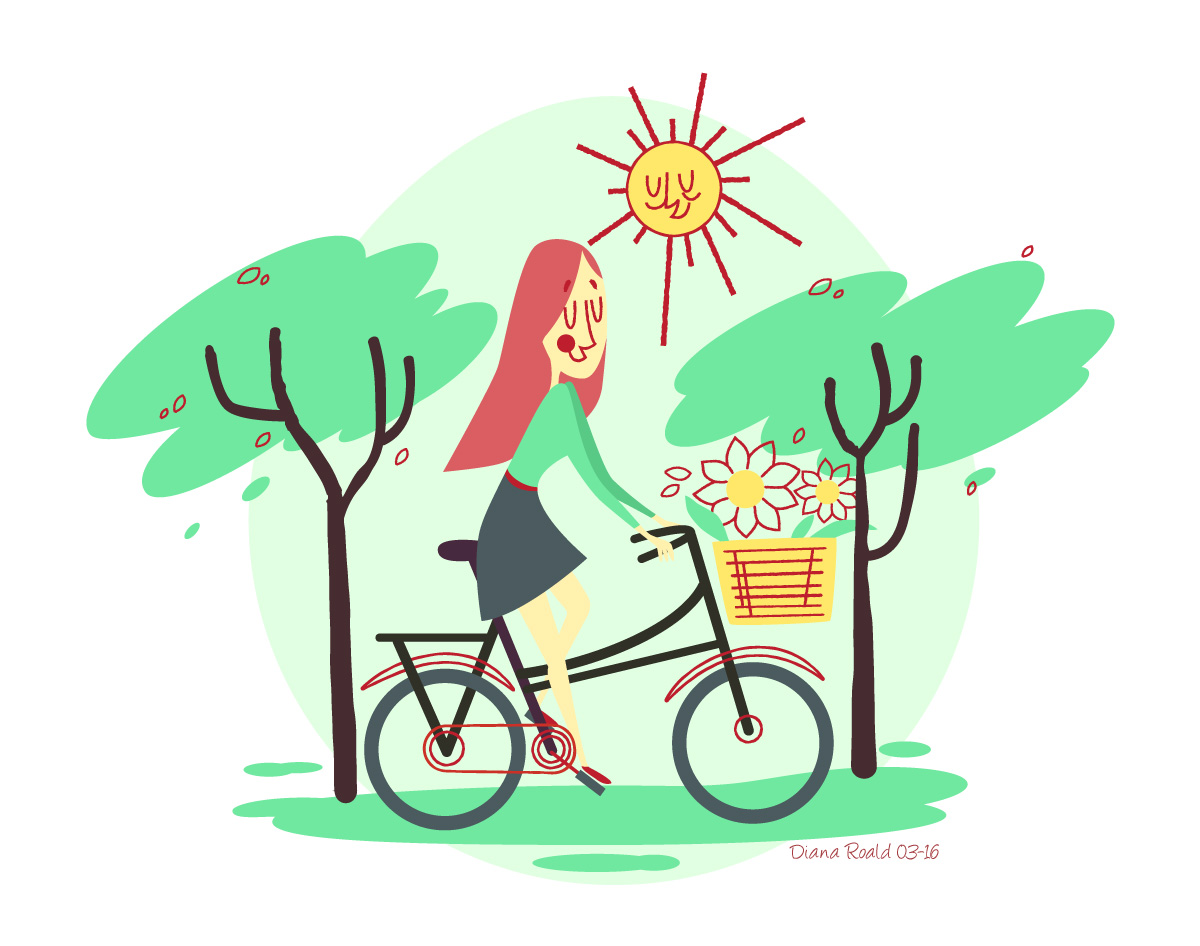
Spring Garden

Based on tutorial "Create a Garden Scene with Basic Shapes in Adobe Illustrator"

Click on image for full-sized image.
Spring Garden
In this tutorial you use just basic shapes and the Pencil Tool in Adobe Illustrator. I was surprised how many different objects that could be created from a rectangle, ellipse and triangle. The tutorial was easy to follow.
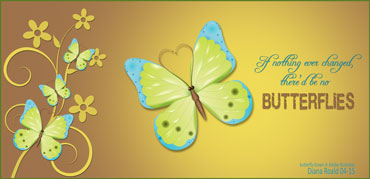
How to Make an Attractive Vector Butterfly
Based on tutorial "How to Make an Attractive Vector Butterfly"

Click on image for full-sized image.
How to Make an Attractive Vector Butterfly
In this tutorial you learn how to make a vector butterfly using the blending mode from transparency box and the gradient mesh. The techniques shown in this tutorial will help you make shades on objects and liquid transition of colors.
Dextor Vector Drawing

Based on tutorial "Beginner Tutorial: Create Dexter in Illustrator"

Click on image for full-sized image.
Create Dexter in Illustrator
In this tutorial you use just basic shapes and the Pencil Tool in Adobe Illustrator. I was surprised how many different objects that could be created from a rectangle, ellipse and triangle. The tutorial was easy to follow.
Swirl Shop Illustrator Class

Based on ”Class: Illustrator Pen Tool, Swirl Shop by Laura Coyle”

Click on image for full-sized image.
Swirl Shop Illustrator Class
The class is free but you have to subscribe here to get the password. The project takes you step by step through the process of making swirly, decorative linework using one of Illustrator’s most foundational tools: the Pen Tool. The class is made up of 11 videos and you can also download a pdf and source files to help you follow the class.
How to Design a Logo with Illustrator
Based on tutorial "How to Design a Logo with Illustrator"
![]()
Click on image for full-sized image.
How to Design a Logo with Illustrator
Description of tutorial at Adobe.com:
Adobe Illustrator can make an artist out of us all! Join us for this series of videos and discover how simple it is to create a personalized logo using vector based images, which can scale to any size without losing quality. We’ll lay the building blocks for your logo in this first video by drawing some basic shapes in Illustrator.
Compositing 3D Models Into Photographs Using Photoshop

Based on Photoshop Training Channel Tutorial "Compositing 3D Models Into Photographs Using Photoshop"

Click on image for full-sized image.
Compositing 3D Models Into Photographs Using Photoshop
The Photoshop Training Channel tutorials are really, really good. They have all the necessary details and are explained very well. Jesús Ramirez gives general tips here and there also. He just doesn't say "do this, then do this". He explains why and this makes these tutorials so educational.
This is the introduction to the video tutorial, which outlines what the tutorial covers:
In today’s tutorial I’m going to show you how you can use Photoshop CC’s 3D features to create a realistic composite between a 3D model and a Photograph.
You’ll learn how to place the 3D model in the right perspective and how to apply materials to the various pieces of geometry. Then you’ll learn to use IBLs (Image Based Lights) to help illuminate the scene and create reflections.
We’ll finish off the tutorial by using adjustment layers to adjust the brightness and color of the 3D model, and to create lights to further enhance this image.
After watching this tutorial, you will be well equipped with the knowledge to import 3D models into Photoshop and composite them in into your own Photographs.
Poppy

A TG Reloaded tut by Lisette (paid subscription) ~ Link to TG Reloaded

Click on image for full-sized image.
Poppy
This is my first tutorial using Paint Shop Pro X7. I must say my first impression is not that good because the program crashed six times while doing this tutorial. This was, however, a fun tutorial. I did, however, use Photoshop a little as I found a Photoshop custom shape for the silhouette in front. It was brought into Photoshop and converted into a psd and then copied as a new layer in my Paint Shop Pro image.
Secret Fantasy Place Photoshop Manipulation Tutorial

Based on PSD Dude’s Secret Place Fantasy Photoshop Manipulation Tutorial

Click on image for full-sized image.
Secret Fantasy Place
This was another interesting tutorial where I learned how to use the lighting effect and adjustment layers to create realistic lighting.
Dynamic, Retro, Constructivist-style Text Poster

Based on Blue Lightning Video Tutorial: Dynamic, Retro, Constructivist-style, Text Poster

Click on image for full-sized image.
Dynamic, Retro, Constructivist-style Text Poster
This was an interesting and well-explained tutorial that incorporates Wordle, an online tool for generating “word clouds” from text that you provide. You also learn how to create and use displacement maps so that text conforms to the surface.
I chose the lyrics from Carry on Wayword Son by Kansas, which is one of my favorite bands and songs. When writing this post I learned that Carry on Wayword Son was used on the series Supernatural, and according to some, nobody would have heard of this song if it weren't for Supernatural. I, however, dare to differ!
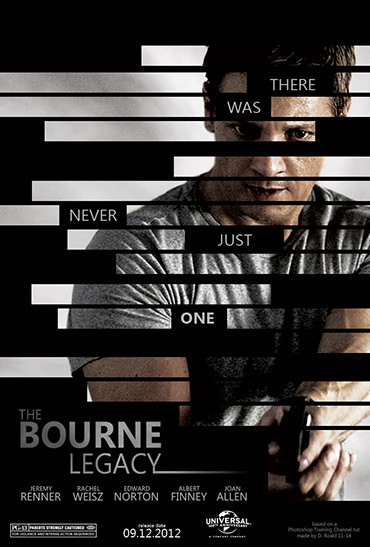
The Bourne Legacy Movie Poster
Based on Photoshop Training Channel tut: Bourne Legacy Movie Poster

Click on image for full-sized image.
Bourne Legacy Movie Poster
This was a very good tutorial. It was easy to follow and all of the steps were well-explained. The tutorial is a 47-minute tutorial where you learn the following (taken from the introduction to the tutorial):
03:34 – Extract foreground from background using the quick selection tool.
04:20 – Use the quick mask mode to refine your selection.
05:44 – Use the “refine mask” panel.
06:20 – Add a “movie look” to your image.
09:25 – Create a smokey background using the “clouds” filter
09:58 – Use the warp transform tool to shape the smokey background.
13:40 – Add film grain to your image.
17:00 – Use vector masks to create black bars.
24:03 – Add a slogan to your movie poster.
33:57 – Create the Bourne Legacy logo.
40:55 – Add the actor credits to your poster.
The Thinker

Based on PSD Vault tutorial: "Thinker" Photo manipulation

Click on image for full-sized image.
The Thinker
Links to materials are provided. If you have a VIP membership you can download the tutorial writer's final psd. I would consider this an intermediate tutorial. It took some playing around to get the final image like I wanted it. I added text and grunge edges based on the tutorial "Photo Grunge Edges" at pshero.
Autumn Leaves
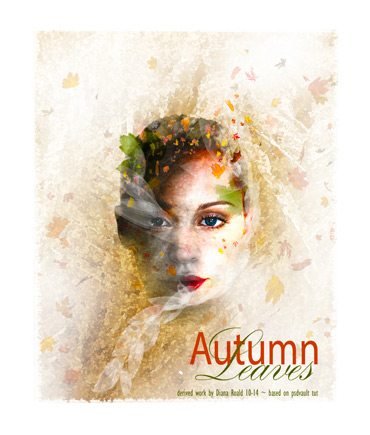
Based on PSD Vault tutorial: Leafy Face Photo manipulation

Click on image for full-sized image.
Leafy Face Photo Manipulation
A really fun tutorial where composition is in focus. Links to the resources used in the tutorial are provided.
Time to Wonder
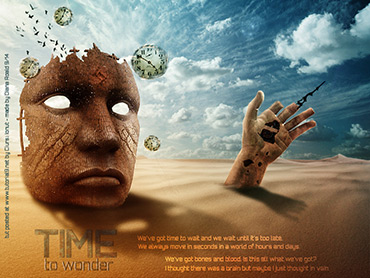
Based on tutorial by Ciursă Ionuţ: Design a Surreal Desert Scene in Photoshop

Click on image for full-sized image.
Design a Surreal Desert Scene in Photoshop
Links to materials are provided but some of the links are "dead". A link to the author's final psd is also provided. In my opinion, the final composition is eye-catching and inspires reflection. This tutorial is not for beginners to image editing but as a noobie to Photoshop I had no problems following the tutorial.
Bryce Master Series: Cloud City
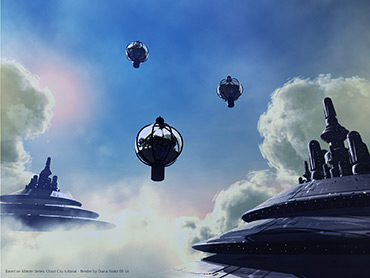
Based on tutorial "Bryce Master Series: Cloud City"

Click on image for full-sized image.
Live and Let Die - Make Art

Based on tutorial by Jeya posted at mediamilitia.com: Create an Awesome Grunge Poster in Photoshop

Click on image for full-sized image.
Create an Awesome Grunge Poster
All materials are provided. Note however that the extra video is not accessible. I liked the composition of this tutorial but didn't like the text, so I changed the text and added some text effects not included in the tutorial. Also made some other minor adjustments to get the image to look like I wanted it to look. :) This tutorial is not for beginners to image editing but as a noobie to Photoshop I had no problems following the tutorial.
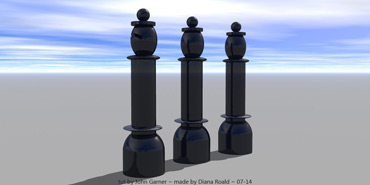

Wagon With Toys
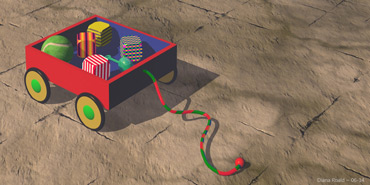
Based on lesson 2 of Robin Wood's "Bryce 5 Course"

Click on image for full-sized image.
Bryce: Wagon With Toys
NOTE: No postwork has been done on this render. Just learning. :)
Realistic Lighting

Based on IamUman's tut "Realistic Lighting in DAZ Studio"

Click on image for full-sized image.
Realistic Lighting
The following image is a render with the same lighting as the first image. The addition of the hair resulted in a big increase in render time due to transparency of the hair.
NOTE: No postwork has been done on these renders. Just learning. :)
 - Render by Diana Roald 06-14")
Click on image for full-sized image.
Landscape With Tree
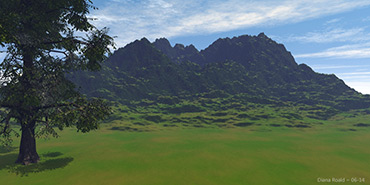
Based on Lesson 1 of Robin Wood's Bryce 5 Course - Lesson 1

Click on image for full-sized image.
Bryce: Landscape
With Tree
Robin Wood's Bryce 5 course is a good place to start for beginners. I have also completed several of the other lessons but have a lot more to learn and way too little time.
NOTE:No postwork has been done on this render. Just learning. :)
Bryce 20-Minute Beginners Project - Simple Landscape

Based on David Brinnen's tutorial "Bryce 20-minute Beginners Project: Simple Landscape "

Click on image for full-sized image.
Bryce 20-Minute Beginners Project - Simple Landscape
There is so much to learn that I am sure when I look back at this render in a year or so I'll pick it apart. :)
NOTE: No postwork has been done on this render. Just learning. :)
DAZ - Fiery Genesis Tutorial
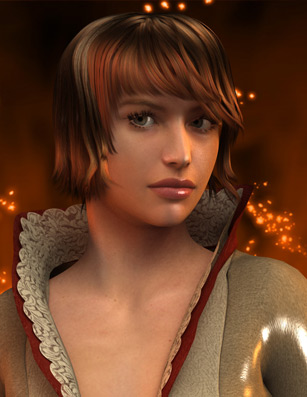
Based on DAZ - Fiery Genesis Tutorial (video)

Click on image for full-sized image.
DAZ: Fiery Genesis
COMMENT August 22, 2014: I see now - after doing several lighting tutorials - that I need to adjust my lights to avoid getting those visible dark lines on her face. I may post an updated render later on.
NOTE: No postwork has been done on this render. Just learning. :)


Love Is a Beautiful Thing
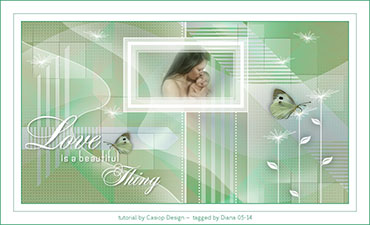
Tutorial by Casiop Designs - Link to tutorial "Love" (Danish version, but there is also an English translation)

Click on image for full-sized image.
Love Is a Beautiful Thing
I made this for my mother for Mother’s Day in 2014. A really lovely tutorial.
Ladies

Tutorial by Edith Graphics - Link to tutorial "Ladies" (French)

Click on image for full-sized image.
Ladies
Despite the tutorial being written in French, it was easy to follow – with the help of Google translate, of course. Nice colors and design.
Listen To the Music

Tut by Jille ~ Link to Tut

Click on image for full-sized image.
Listen To the Music
A very original tutorial by Jillie. It was easy to follow. I love the setting and the quote.
A Picture Is a Poem

Tut by CoeurKréations (Private photos) ~ Link to Tut

Click on image for full-sized image.
A Picture Is a Poem
The use of texture brushes creates a great mood. I love this photo of my daughter and two of her friends when they were in Thailand.


Don't Cry

Tut by Tamer (Paid membership at Tg-reloaded)

Click on image for full-sized image.
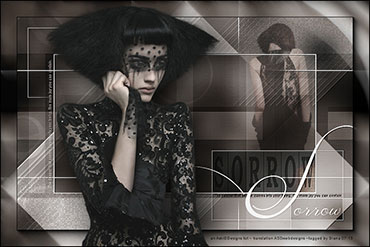
Don't Cry
Tut by Tamer (Paid membership at Tg-reloaded)

Version 2
Click on image for full-sized image.
Watch Those Eggs
Tut by Annie at Cre@nnie Design ~ Link to Tut

Click on image for full-sized image.
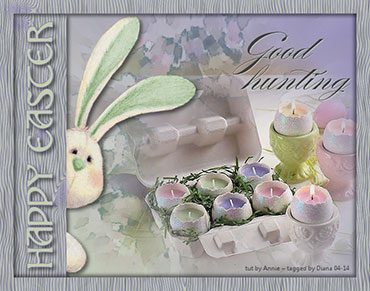
Watch Those Eggs
Hunting eggs on Easter is one of my fondest memories, in addition to, Easter baskets full of candy. I probably should have had more candles and less candy. :)
Quietude

Tut by RoseOrange ~ Link to Tut (English translation

Click on image for full-sized image.
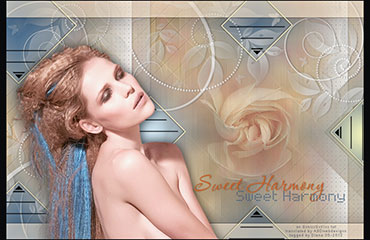
Quietude
Link to original tut - RoseOrange
I really enjoyed this tutorial. I hope to try it again with a different main image and colors. There are so many posibilities.
Happy New Year!

Tut by Yvonne ~ Link to tut

Click on image for full-sized image.
Happy New Year!
Wishes for a prosperous new year to all my family and friends.
Merry Christmas / God Jul!


Click on image for full-sized image.
Merry Christmas / God Jul!
Previously you had to have a paid membership to access Ann's tutorials but now ASD Webdesigns has exclusive rights to publish these tutorials. Ann’s tutorials are really creative and most of them do not require a lot of external plugins, which makes them quicker to complete.
Merry Christmas ~ a TDStudio Tut


Click on image for full-sized image.
Merry Christmas ~ a TD Studio Tut
Previously you had to have a paid membership to access Ann's tutorials but now ASD Webdesigns has exclusive rights to publish these tutorials. A nice tutorial that looks so elegant.


Love
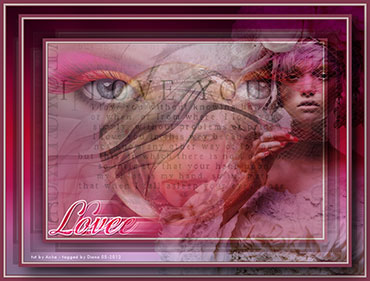
Tut by Aisha from previous Topgirlz site (Access to Topgirlz tutorials with membership at Tg-reloaded; but link to this tut does not work).