Sunshine - Part 3

The image used in this tag is one of Wachu's fantastic pieces. She has graciously allowed me to use her artwork. I encourage you to take the time to visit her site. You can download this image HERE to do Part 3.
As I mentioned earlier, you may not be able to use the technique described in Part 1, and you may have to use a different 'Blend Mode' than I did in Part 2. That's what happened when I was doing the tag above. So, I decided to do a mini-tut to show you what I did for this tag. I will only be covering an alternative to 'Part 1' and then hopping to 'Part 2 - step 27'.
- Open the file 'wachu_image'. Activate 'Raster 1' layer. Go to 'Edit / Copy'.
- Create a new image 600 x 300, Transparent.
- Go to 'Edit / Paste As New Layer'.
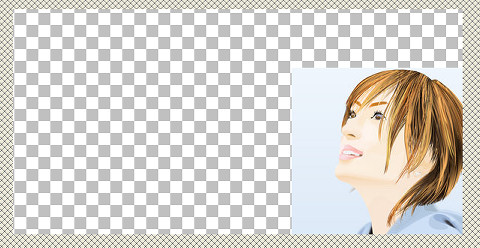
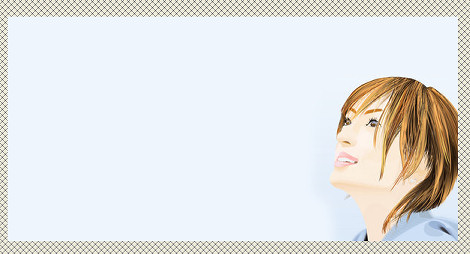
- Use the 'Move Tool' to place the image where you like. Tip: I like to test out the placement first. So, I paste the image onto the background/tag first to see what position is best. When I find a placement I like, I go back to the 600 x 300 image and move the image so that it is placed the same way. The position is pretty important in this tag since the sunlight/sun flares are so dominant. (When you go back to the 'main image (background/tag)', you can just click the 'Undo' button (or delete the 'test' layer). This is how I placed the image:
- In this image, the background over her head is lighter than it is on the left side of the image. Since we will be adding a gradient mask, it is more important that the background color matches the color of the image over the head, if you understand what I mean. So, use the 'Dropper Tool' and select the color just over the top of the head farthest to the right. The color I used is '#eef5fd'.
- Activate/Highlight the 'Raster 1' layer.
- Use the 'Flood Fill Tool' to fill the 'Raster 1' layer with the color '#eef5fd', or the color you have selected. This is how my image looks at this point:
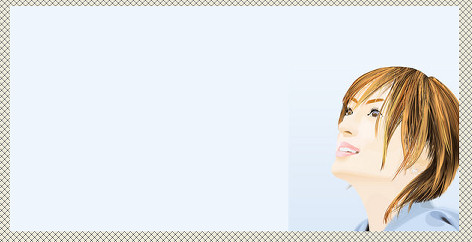
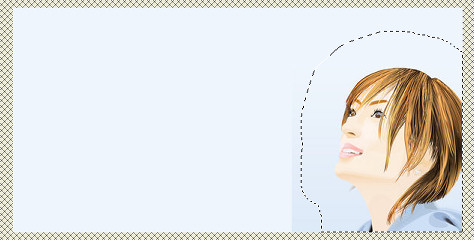
- As you can see above, there is a fairly distinct edge between the background and image on the left side. The masked layer will take care of most of this, but not all of it. You could play around with the masked gradient if you like, or you can do what I did. Click on the 'Selection Tool'. Use these settings:

- Follow the shape of your image, but not directly on the image. It doesn't have to be exact as it does with tubing. But don't get too close to the image either.
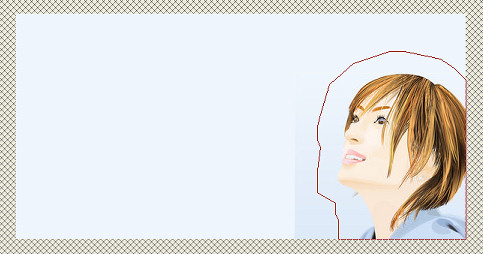 Make sure you go all the way around and meet the starting point before you 'right-click' and close the selection. Your selection should look something like the screen shot below. Yes, the selection should be so far away from the image, because we had set 'feather' to '20'.
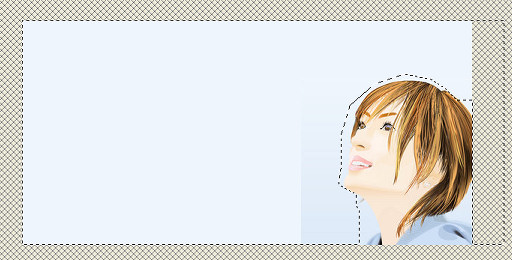
- Then go to 'Selections / Invert', and your image will look something like the screen shot below. Notice how the selection is just on the outside of the image now.
- Click on the 'delete key' on your keyboard 1 or 2 times, but make sure you don't lose any detail from your image. Now it should look similar to the screen shot below. Notice how the sharp edge is gone and it blends better into the background.
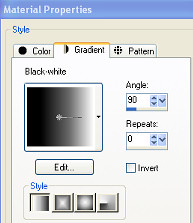
- Go to 'Layers / Merge Visible'. Set your foreground to 'Gradient' with these settings:
- As I mentioned in 'Part 1 - Masked Image', there may be an easier way to do the next 'masked' part. But, this is what I came up with. If you know of an easier way, please let me know. Go to 'Layers / New Mask Layer / Show All'.
- Go to the 'Layers Palette' and activate/highlight the 'Mask - Merged' layer. It should be 'white'. Fill this layer with the foreground 'Gradient'. My image and layers look like this at this point:

- Go to 'Layers / Merge / Merge Group'.
- Save this image as a .pspimage and use it in place of the file 'ayumi_k_masked_image' when called for in 'Part 2 - step 23'. Minimize your image. Now you are ready for 'Part 2'. When you get to 'Part 2 - step 27', come back here and do step 17.
- I really hate to give 'Blend Mode' settings because there are so many possibilities, and it really is a matter of taste. Only YOU know what kind of effect you are trying to achieve. But, I will give you the settings I used for the 'wachu_masked_image'. Since the background was so light, I set the 'Blend Mode' for the 'wachu_masked_image' layer to 'Multiply'. I duplicated this layer, and changed the 'Blend Mode' for this new layer ('Copy of wachu image') to 'Hard Light' and reduced the opacity to '84'. But again, I could have played around with this for hours, and chosen several other settings. So, I suggest that you try out several different settings, and decide which one you like best!
- Now you can go back to 'Part 2 - step 28'. But remember you will have 2 image layers - 'Raster 4' and 'Copy of Raster 4'!

©Diana Roald - February 2005